
Once you’ve created a form in FeatureOS, the next step is to share it with your users so you can start collecting responses. There are several ways to do this, depending on how and where you want to reach your audience.
1. Copy the Link and Share It
The simplest option is to copy the direct link to your form.
Go to your Forms in the dashboard > Toggle to the Share tab > Choose a Form [Published].
Click Copy Link.
You can then paste this link into chat, Slack, or any other channel you use to communicate with customers or internally with your team.
This is quick and works well when you need to share a form with a small group or in an ad-hoc conversation.
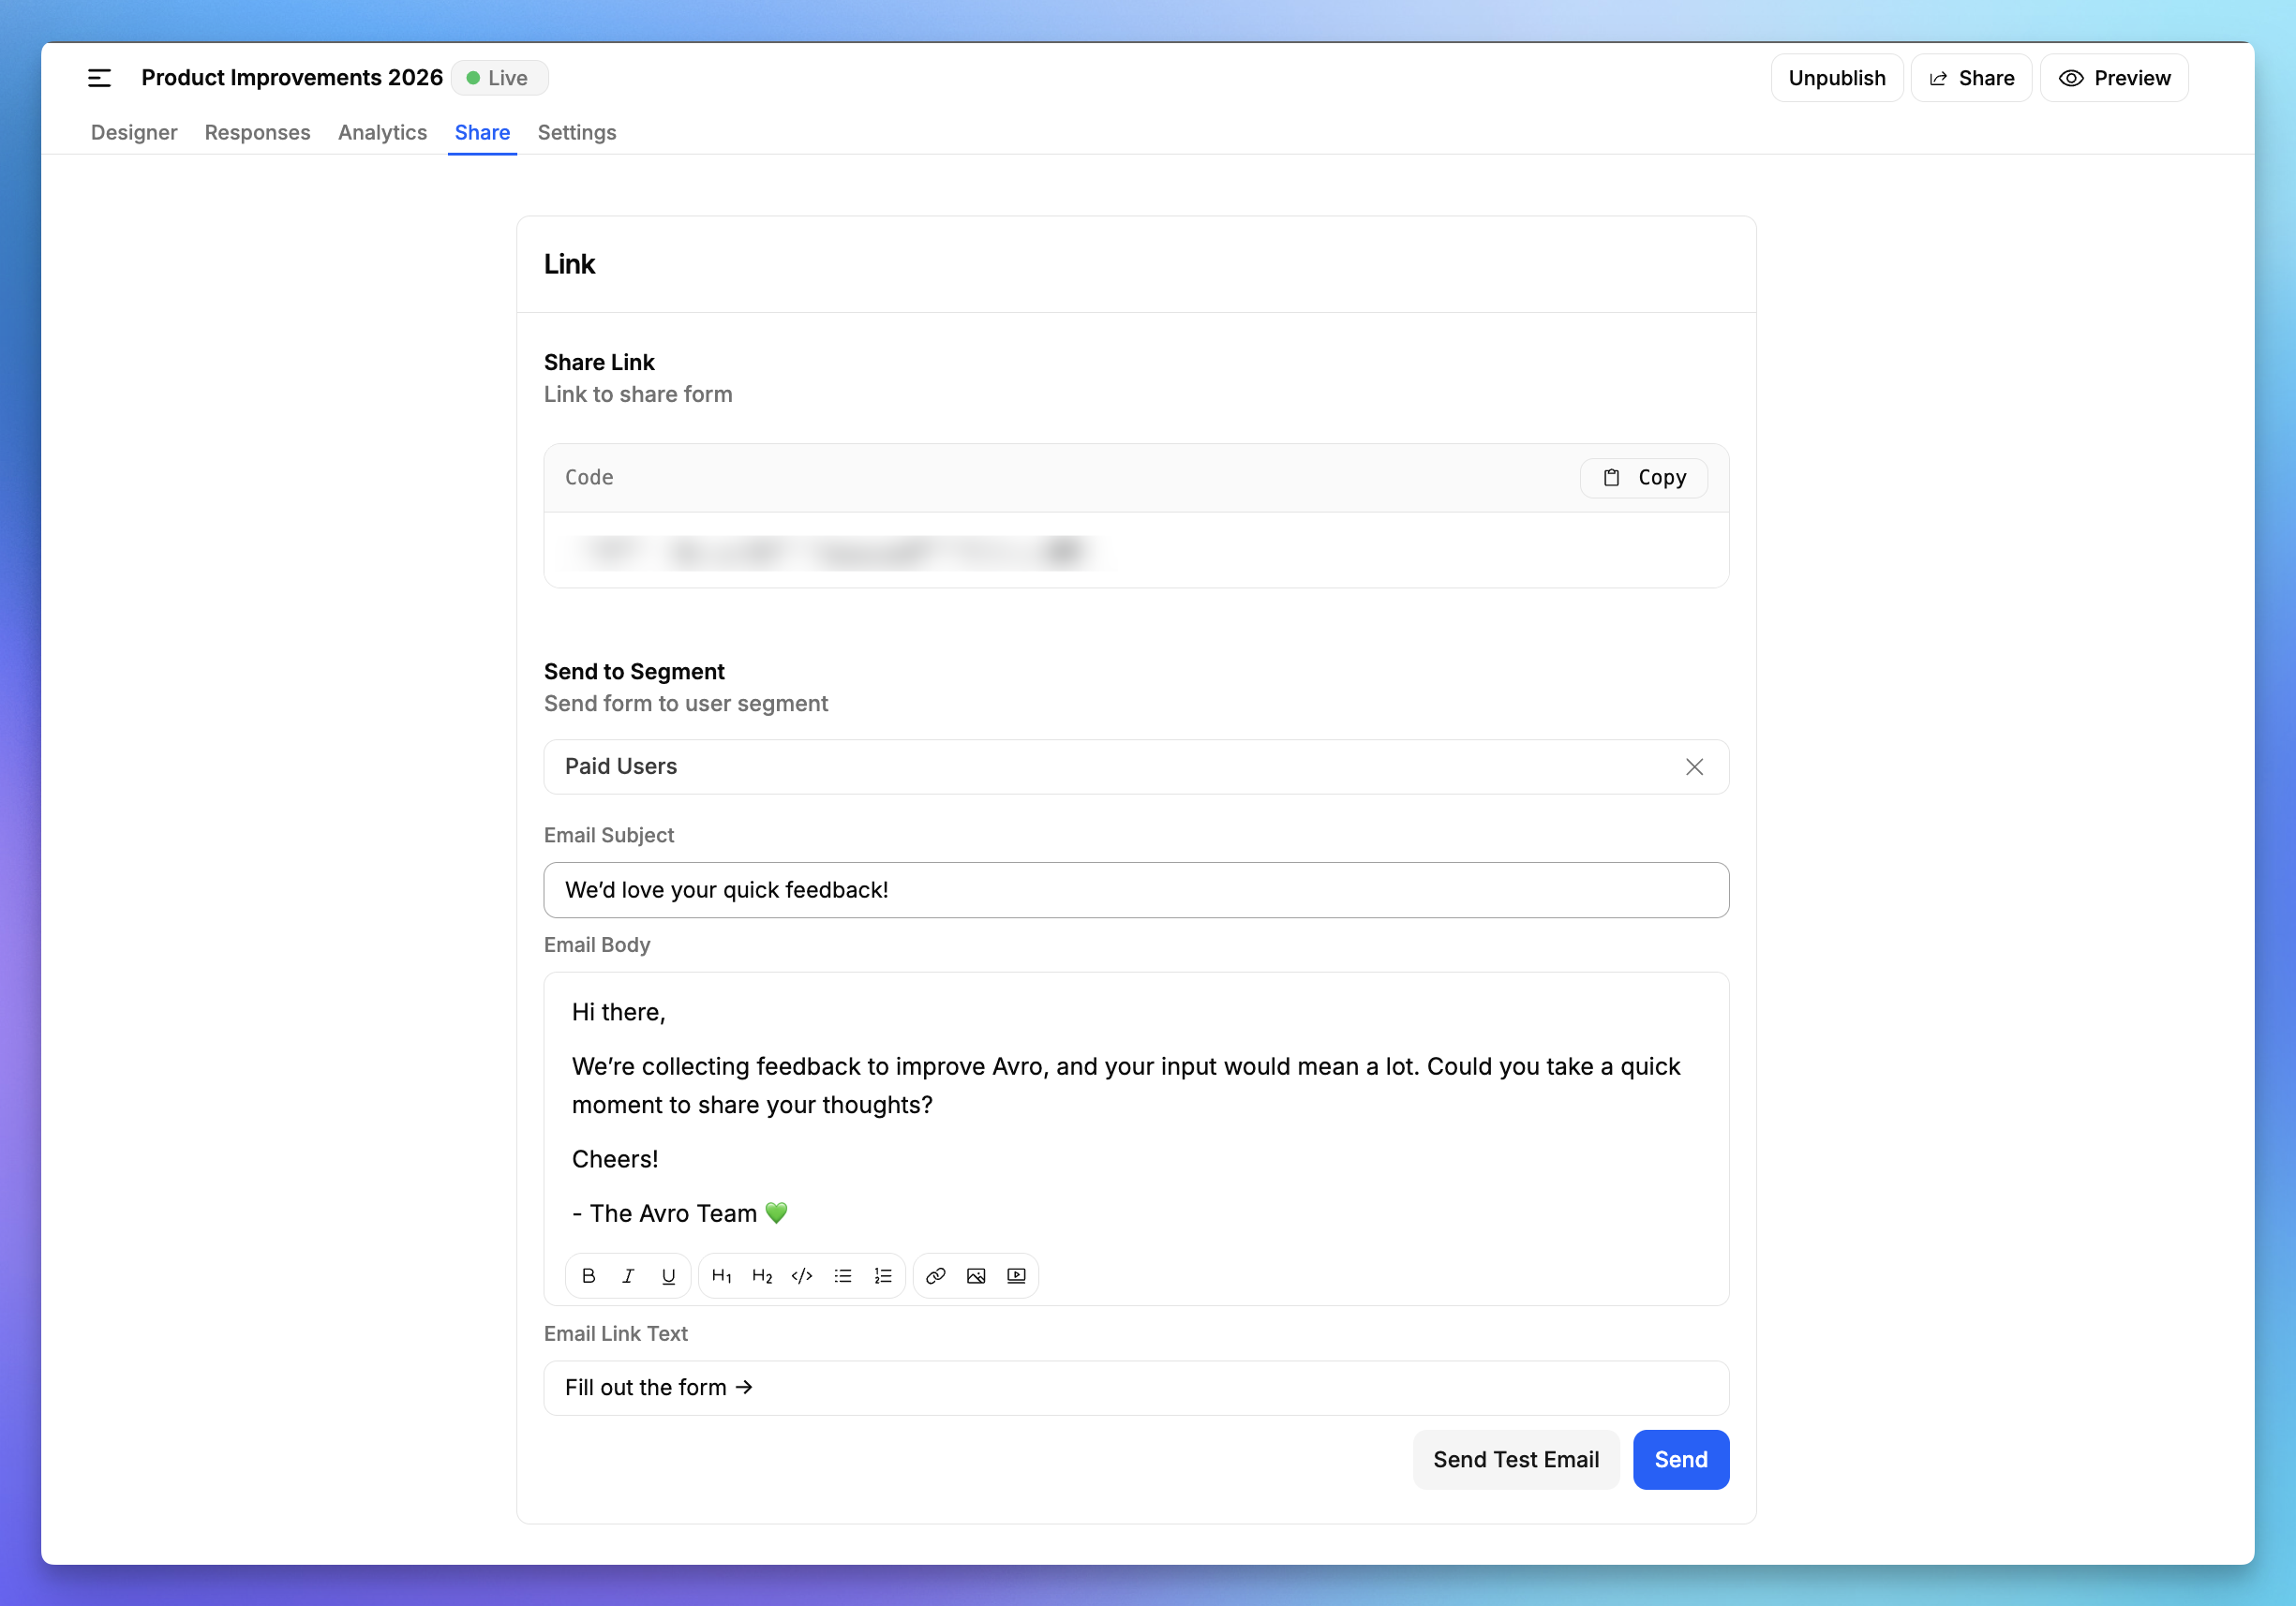
2. Email a Segment of Users with the Form Link
If you want to reach a larger set of users in one go, you can send the form link via email.
From the Forms page > choose a Form.
Toggle to the Share tab > choose Send via Email.
Select the segment of users you’d like to target.
Write a short message, and the link to the form will be automatically added to the button.
Send a test email or send it to the segment directly.
This is ideal when you want structured outreach - for example, asking beta users for feedback or checking in with customers who recently upgraded.
3. Widgets
Widgets are great for in-context feedback since they catch users right when they’re using your product. You can make forms available as widgets inside your product.
Segments - Choose which user segments will see the widget.
Default is Everyone.
You can narrow it down to specific groups (e.g., only beta users, or only paying customers).
Target URL - Define the URL(s) where the widget should appear.
Example: https://yourapp.com/dashboard
Target Selectors - Specify CSS selectors (like .class or #id) to control exactly where the widget shows up on the page.
Example: Show the widget only when a user is on a specific section of the dashboard.
Display Mode - Choose how the widget appears:
Popup / Modal – widget shows up as a pop-up overlay [or]
Inline - The form is embedded directly within the page layout.
Delay (in milliseconds) - Set a delay before the widget appears.
Example: 0 means the widget shows instantly.
5000 means it appears 5 seconds after the page loads.
Dismiss Duration (in days) - Controls how long the widget stays hidden after a user dismisses it.
Example: 7 means if someone closes the widget, they won’t see it again for 7 days.
Once your settings are ready, click Save.
4. Embeds
Embedding a form lets you place it directly inside your website, help center, or documentation. Unlike widgets, which float on the page, an embed is part of the page content itself.
When you copy the embed code from your form settings, you’ll get an iframe snippet, something like this:
<iframe src="https://avro.featureos.app/embed/f/hiring-2026" width="100%" height="100%" frameborder="0"></iframe>
Need Help?
Email us at [email protected] or drop your question on our support board! 🙌🏼
Was this helpful?