
FeatureOS now includes the option for you to set Priority Levels for requests that allows you to categorize each feedback item with one of four priority levels:
Urgent
High
Medium
Low
How It Helps?
Quickly identify and focus on high-priority requests and feedback.
Allocate resources more effectively by addressing items based on their urgency.
Keep your dashboard organized and less cluttered by filtering requests by priority.
How to assign a Priority Level
Navigate to the Dashboard.
Open a request or feedback item from the list.
Click on the Priority Level dropdown in the right panel.
Choose the appropriate priority level (Urgent, High, Medium, Low).

Creating Saved Views based on Priority
Go to the Dashboard > open the Filters section, located at the top right corner.
Choose More Filters > Priority.

Select the priority level you want to view > click on Filter. This will filter the displayed items to show only those with the chosen priority.
Click on Save View.

This will open a model where you can apply more filter conditions if needed > Name the Filter > Save.

All filter views will be available under the Saved Filters section over the left panel of your Dashboard.
You can mark up to 2 saved filters as your favorites.
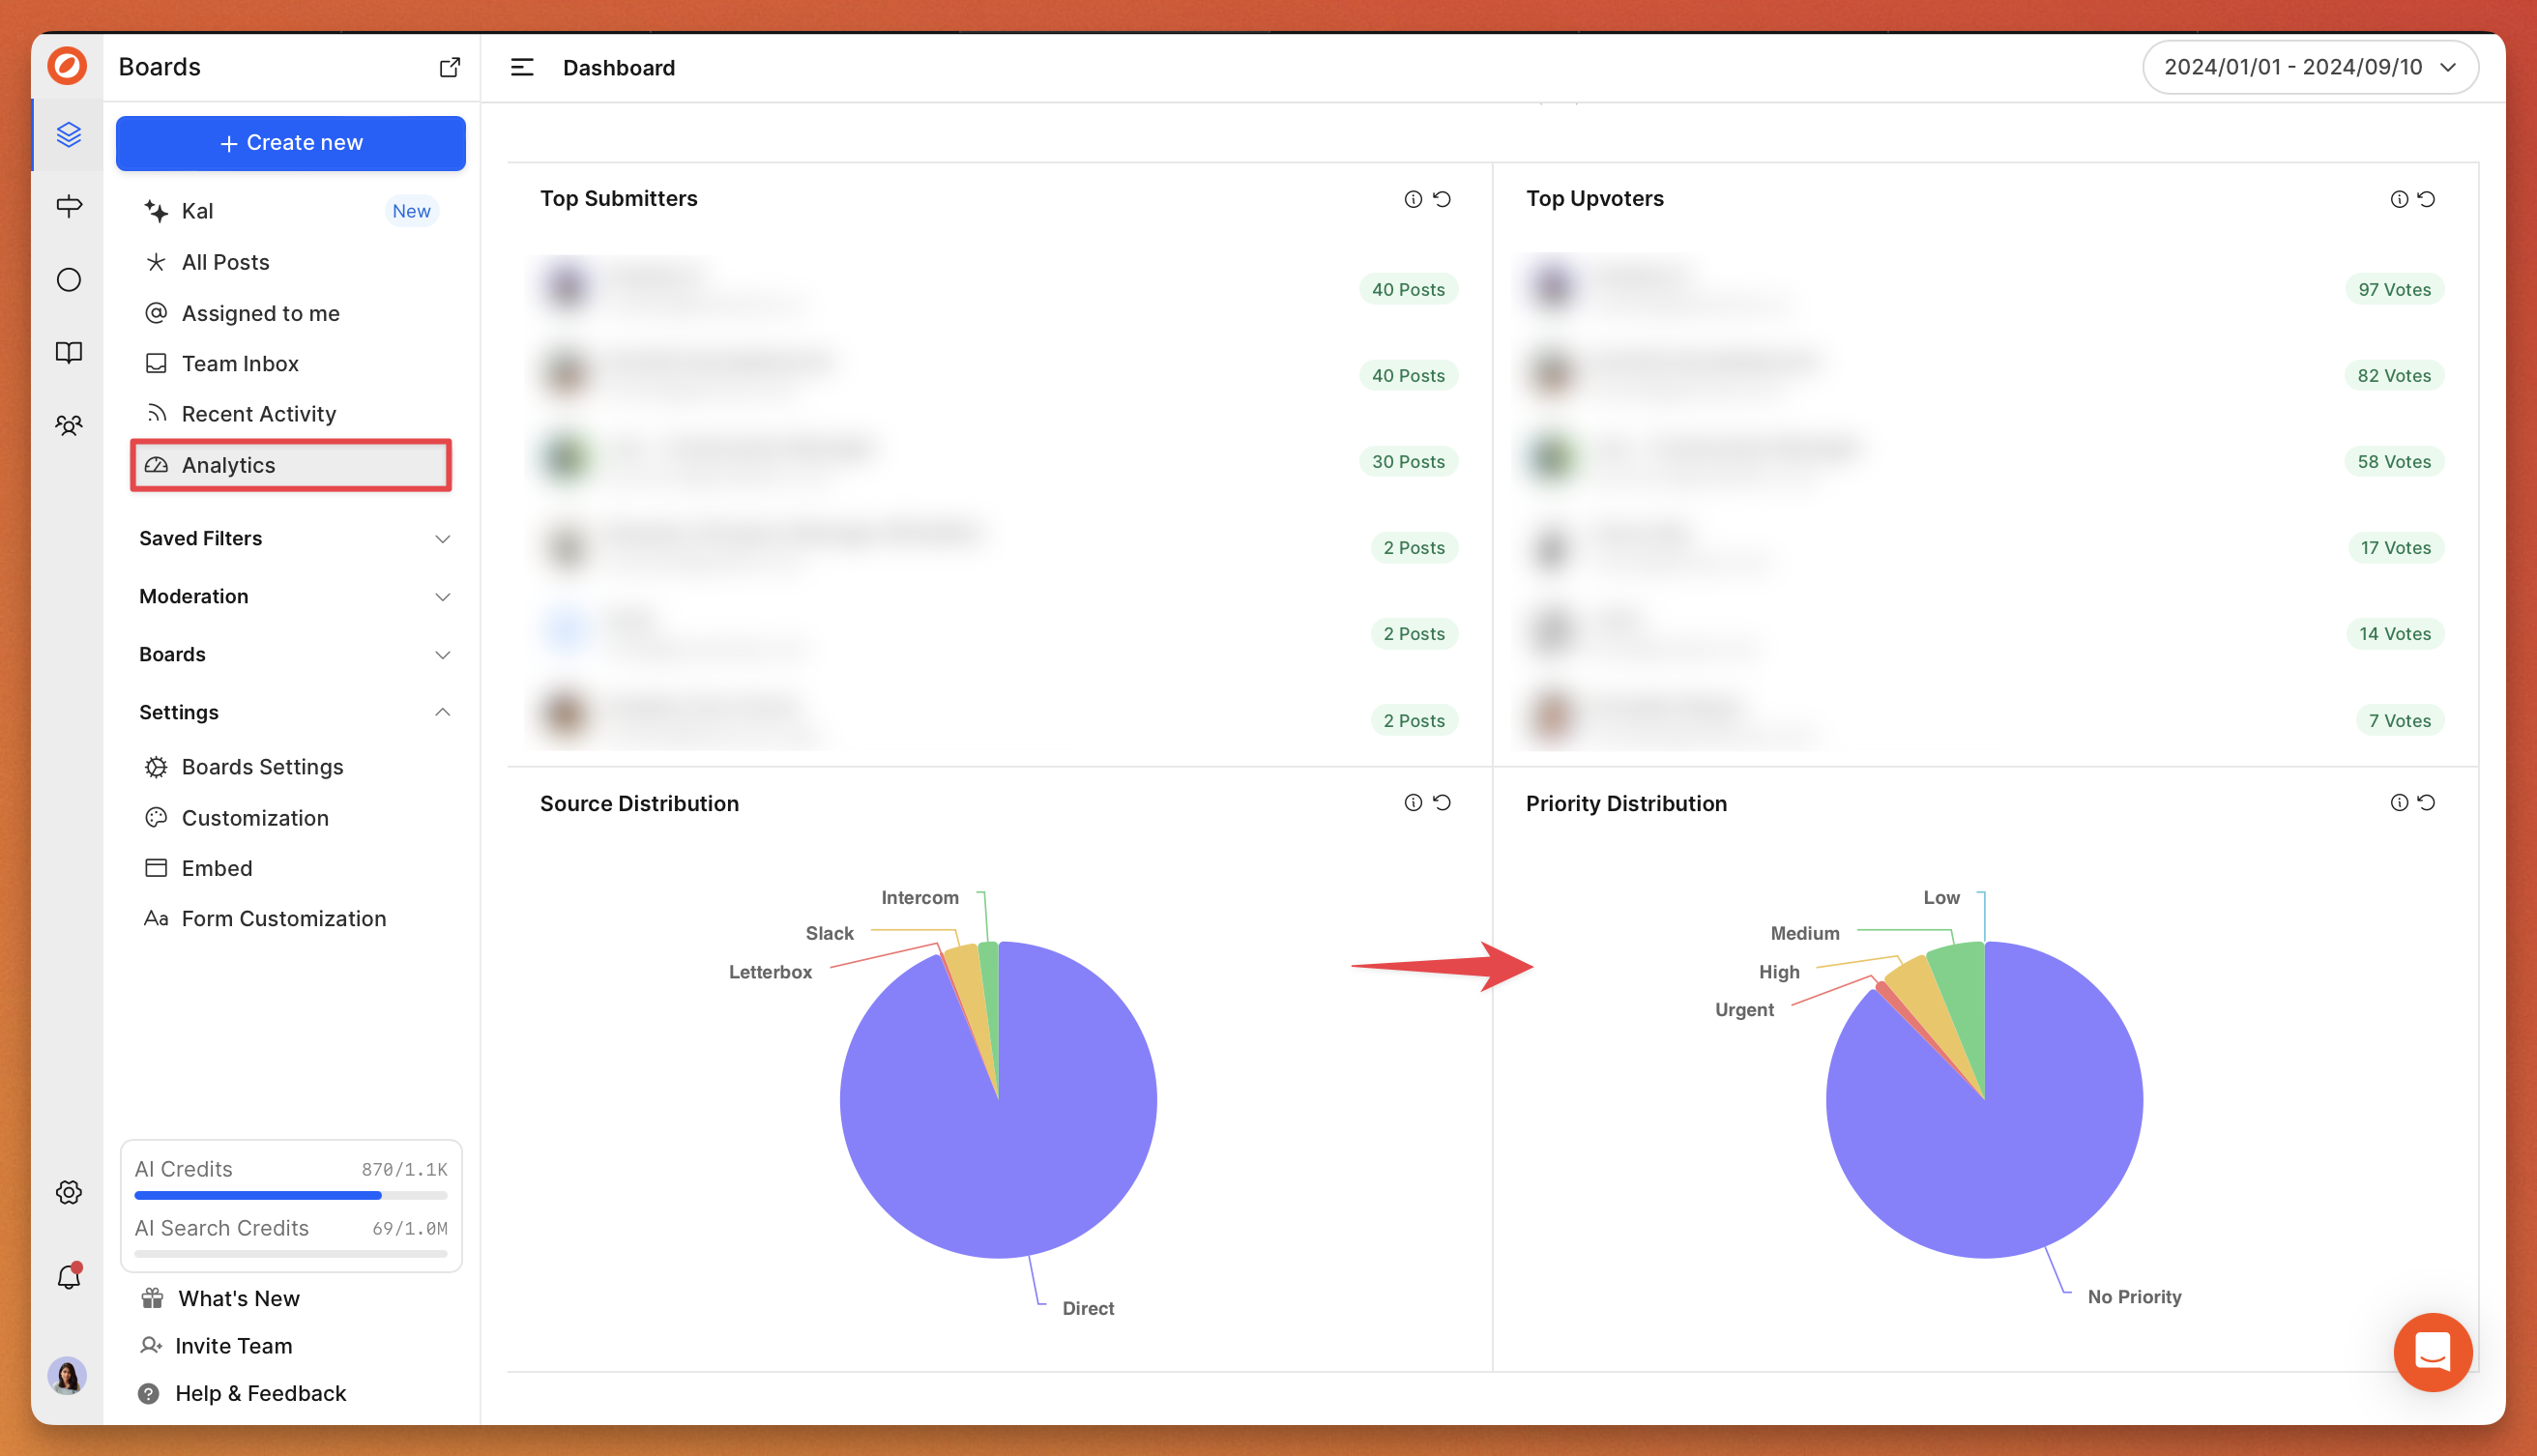
View Priority Analytics
Access the Analytics section from your FeatureOS dashboard.
Scroll down to review the Priority Distribution to see a breakdown of how feedback is distributed across different priority levels.
This provides insights into the volume and types of feedback you are managing.
Related articles
Need more help?
Reach out to our support at [email protected] or submit a request on our support board! 😃
Was this helpful?